In the world of content creation, clarity is key. Whether you’re drafting an article, a blog post, or any other type of written material, removing unnecessary or unwanted words can make your writing more effective and engaging. This guide will explore the best practices for eliminating redundant words and phrases to enhance the quality of your content.
Understanding the Error
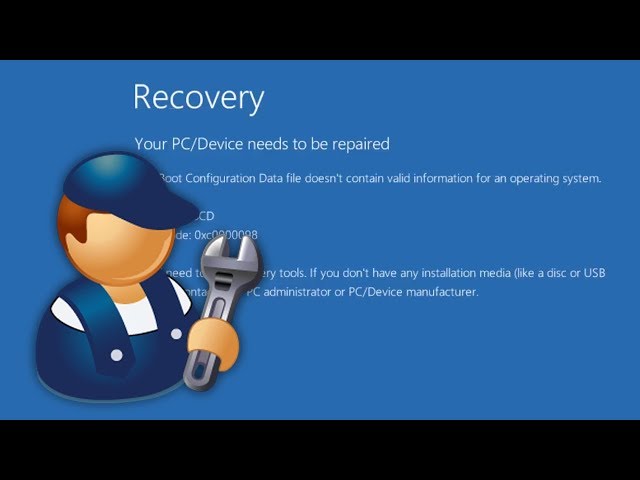
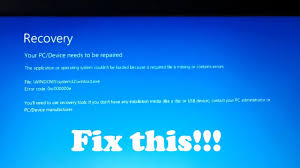
What is the “Your PC or Device Needs to Be Repaired” Error?
This error signifies that something has gone wrong with your Windows boot loader or essential system files. The problem often stems from corrupted boot configuration data, which prevents Windows from starting up properly.
Typical Error Codes
You might see an error code like 0x000000e, indicating issues with boot configuration data. These codes help pinpoint specific problems but require similar solutions.
Solution Overview
To resolve this error, we’ll rebuild the Windows boot configuration data. This process involves using Windows installation media to access recovery tools and perform repairs. Here’s a step-by-step guide to help you through it.
What You’ll Need
- Windows Installation Media: In this example, we’ll use a Windows 11 bootable USB flash drive.
- A Working Computer: To create or use the bootable USB drive.
Step-by-Step Solution
1. Prepare Your Installation Media
Ensure you have a Windows 11 bootable USB flash drive ready. If you don’t have one, you can create it using the Windows Media Creation Tool.
2. Boot from the USB Flash Drive
- Power off your computer.
- Turn it back on and immediately start pressing the boot menu key (commonly F2, F12, ESC, or DEL) to access the boot menu.
- Select your USB flash drive from the boot menu and press Enter.
3. Access the Windows Setup Screen
- Once the computer boots from the USB, you’ll see the Windows setup screen.
- Click Next to proceed.
4. Access Recovery Tools
- On the setup screen, click Repair your computer at the bottom.
- Select Troubleshoot from the options.
- Click Command Prompt to open the command-line interface.
5. Use Diskpart to Prepare the System Partition
- In Command Prompt, type
diskpartand press Enter. - Type
list diskto view available disks and press Enter. - Identify your system disk (usually Disk 0) and type
select disk 0(or the appropriate disk number) and press Enter. - Type
list partitionto view partitions on the selected disk. - Find the system partition (typically 100 to 200 MB and labeled as System). Type
select partition X(replace X with the correct partition number) and press Enter. - Type
assign letter=Bto assign a drive letter to the system partition and press Enter.
6. Format the System Partition
- Type
format B:and press Enter. Confirm any prompts to complete the formatting process.
7. Restore Boot Files
- Type
bcdboot C:\Windows /s B: /f UEFIand press Enter. This command copies boot files from your Windows installation (on drive C) to the system partition (now drive B) and configures it for UEFI-based systems.
8. Close Command Prompt and Reboot
- Close the Command Prompt window.
- Remove the USB installation media from your computer.
- Click Continue or Restart to reboot your computer.
Conclusion
If everything has gone according to plan, your PC should now boot normally without encountering the repair error. By following these steps, you’ve successfully rebuilt the Windows boot configuration data and resolved the issue. This solution not only gets your system back up and running but also ensures your data remains intact. If you encounter further issues, consider seeking additional technical support or checking for hardware problems.