How to Install macOS on an External Drive for Dual Boot with Windows
If you’ve ever wished to try out macOS without giving up your Windows PC, you’re in luck. In this guide, we’ll walk you through the process of installing macOS on an external drive, allowing you to enjoy both operating systems on a single PC. This approach is perfect for testing macOS without affecting your main drive. Follow these steps carefully to get started.
Preparation
1. Connect and Format the External Drive

- Connect an External SSD: For optimal performance, use an SSD with a USB-C port.
- Open Disk Management:
- Delete any existing partitions on the external drive.
- Convert the drive to the GPT partition scheme (right-click on the disk and select “Convert to GPT Disk”).
- Create Partitions:
- Installer Partition: Create a 2GB partition and format it to FAT32. Name this partition “Installer”.
- macOS Partition: Create another partition with the remaining space and format it to exFAT. This partition will be used for installing macOS.
Download Necessary Files
2. Identify Your Processor
- Use CPU-Z: Identify your processor’s code name (e.g., Coffee Lake). This tutorial is intended for Intel processors only, as macOS does not officially support AMD processors.
3. Download OpenCore EFI
- Visit the OpenCore Website: Download the appropriate OpenCore EFI file for your processor.
- Extract and Copy: Extract the zip file and copy the EFI folder to the “Installer” partition on your external drive. This folder contains the boot loader essential for running macOS.
4. Download macOS Recovery Image
- Obtain OpenCore PKG Tool: Download from the OpenCore GitHub page.
- Install Python: Required to run the script for downloading the macOS recovery image. You can install Python from the Microsoft Store.
- Download macOS:
- Open the OpenCore folder, navigate to the “Utilities” folder, and find the “MAC Recovery” folder.
- Open the command prompt in this directory (type
CMDin the address bar and press Enter). - Use the provided commands to download the macOS recovery image. For macOS Sonoma, for example, paste the corresponding command into the terminal and press Enter.
- Prepare Recovery Image:
- After the download completes, a folder named
com.apple.recovery.bootwill appear. - Copy this folder to the “Installer” partition on your external drive.
- After the download completes, a folder named
Installation
5. Configure BIOS Settings
- Restart Your PC: Enter BIOS settings (usually by pressing a key like F2, DEL, or ESC during startup).
- Disable Secure Boot: This step is crucial for compatibility.
- Set Boot Order: Set your external drive as the first boot device. Save and exit BIOS.
6. Install macOS
- Boot from External Drive: Restart your PC. You should see the OpenCore boot loader. Select the option to boot into the macOS recovery environment.
- Format the macOS Partition:
- Open Disk Utility.
- Format the macOS partition as APFS (we previously formatted it as exFAT for compatibility).
- Install macOS:
- Select “Reinstall macOS” and choose the APFS partition as the installation destination.
- The installation process may take about an hour.
Post-Installation
7. Complete macOS Setup
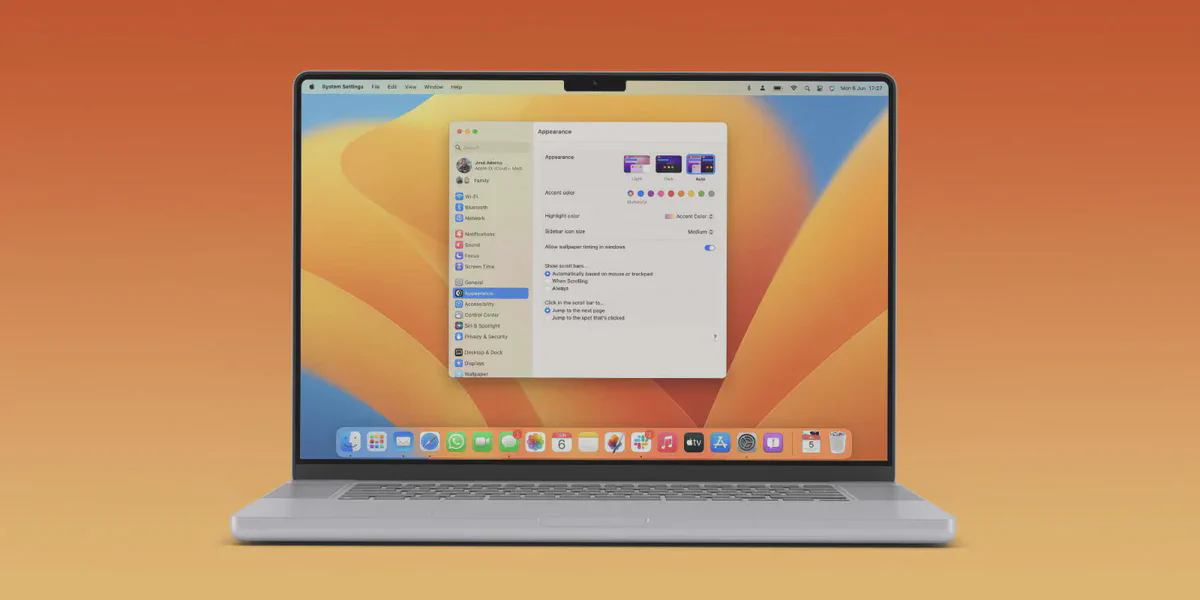
- Follow On-Screen Instructions: After installation, you will see the macOS setup screen. Complete the setup process as directed.
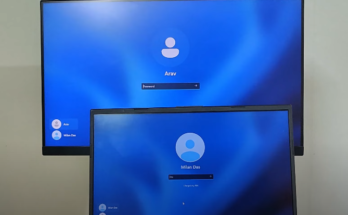
8. Dual Boot Setup
- Select Operating System: When you start your PC, you will now see a dual boot screen allowing you to choose between macOS and Windows.
Congratulations! You have successfully installed macOS on your external drive and set up a dual-boot system with Windows. Enjoy the flexibility of using both operating systems on a single PC.
If you found this tutorial helpful, please consider sharing it and subscribing for more tech tips and tutorials.